Create 3D letters, write letters into circles, shadow letters… all of the above can be done on Photoshop software. Besides, making the text transparent is also integrated by the manufacturer on this famous photo editing tool.

Photoshop Transparent Text Tutorial
Download and install 1 of the 3 versions of Photoshop below:
=> Link ![]()
=> Link ![]()
=> Link to ![]()
How to Make Transparent Text on Photoshop
Step 1: First you open the image file that needs to create transparent text on the Photoshop software.
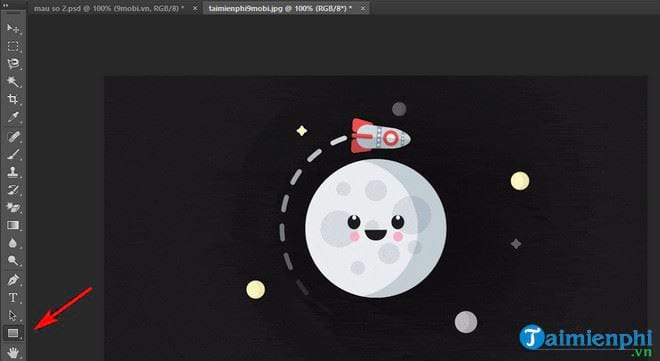
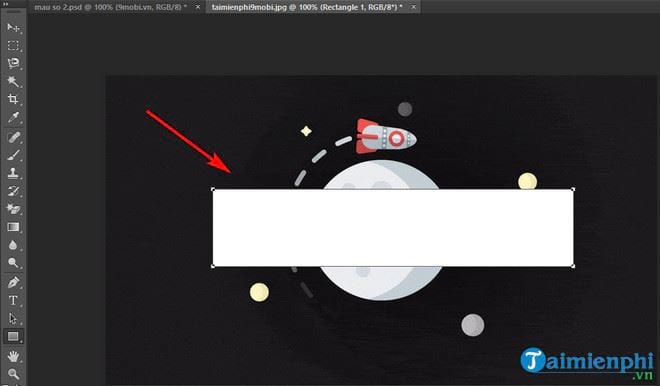
Step 2: You click the selection on the rectangle icon on the toolbar to create a shape. The keyboard shortcut is U .
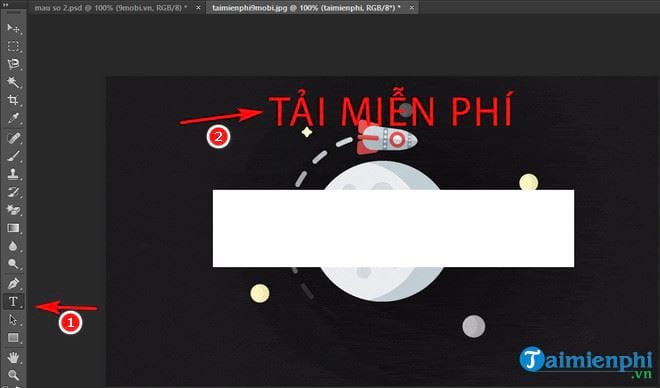
Step 3: Next, press Ctrl+ Shift+N to create a new layer. Then you click on the T icon on the toolbar (Photoshop shortcut T ) and type the word to make it transparent.
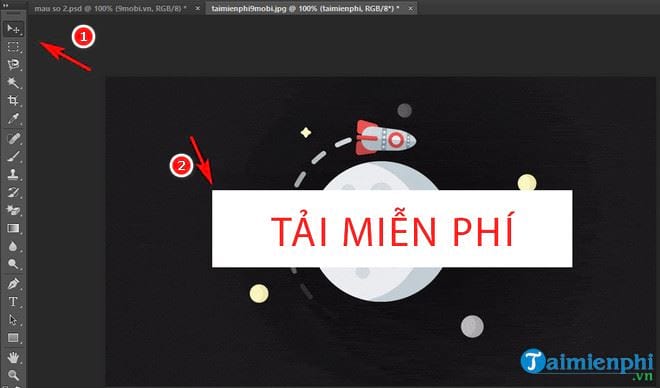
Step 4: Next, use the Move tool (keyboard shortcut v) to move the text into the previously created shape.
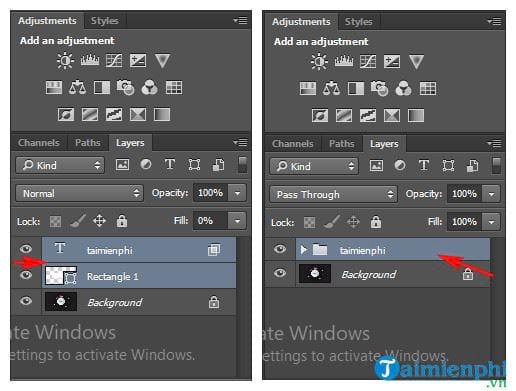
Step 5: Right-click on the text layer, select Blending Options or double-click it to show the above option. In the Fill Opacity section, drag it down to 0%. For the Knockout section, select Shallow. After selecting it, click OK.

Step 6: You merge 2 cubic layers with text layers together using the keyboard shortcut Ctrl + G .
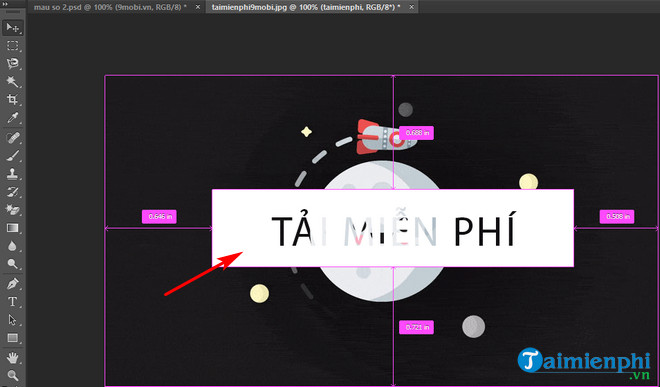
Step 7: Return to the main screen, you will see the text create will be transparent, print the background image behind.
https://thuthuat.taimienphi.vn/cach-lam-chu-trong-suot-tren-photoshop-52219n.aspx
So the above article I have finished guiding you the steps to create transparent text on Photoshop. In addition, you refer to